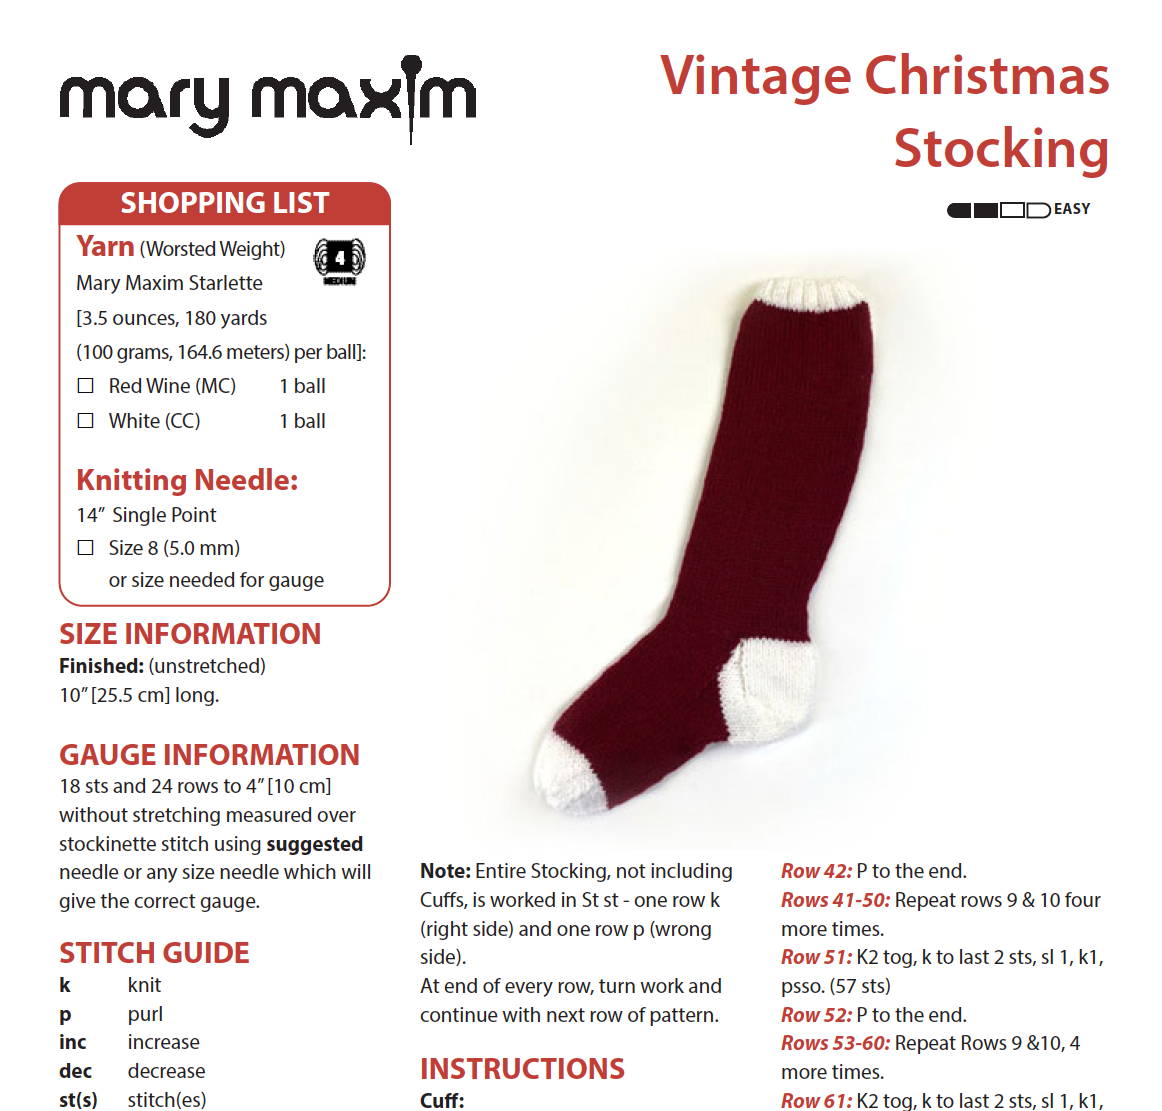
We are now working on Week 3 of our Vintage Christmas Stocking Knit Along. This week we are working the heel of our stocking and the Gusset. We included the complete pattern for the stocking shown here so you can work at your own pace. You can also use this as an updated modern guide for the classic vintage stocking. Make sure to check out Week 1 and Week 2 of this KAL if you are just starting.
This month we are showing you step by step how to knit these iconic Mary Maxim Christmas Stockings. To knit the stocking shown here, you'll need the pattern included in this week's tutorial, a ball of Starlette in White and in Red Wine and a pair of Size 8 (5.00 mm) needles. In addition, you can purchase a Mary Maxim Stocking kit that includes a pattern, graph, and all the yarn you need to complete two stockings, or you can purchase a downloadable pattern from Mary Maxim to knit from.
Free Knit Stocking Pattern
SIZE INFORMATION
Finished: (unstretched)
10” [25.5 cm] long.
GAUGE INFORMATION
18 sts and 24 rows to 4” [10 cm] without stretching measured over stockinette stitch using suggested needle or any size needle which will give the correct gauge.
STITCH GUIDE
k knit
p. purl
inc. increase
dec. decrease
st(s). stitch(es)
cm. centimeters
mm. millimeter
rem. remain or remaining
beg. beginning
rep. repeat
rnd. round
tog. together
St st. Stockinette Stitch
psso pass slipped stitch over k1
k1fb Increase one st by knitting into front and back of next stitch
Note: Entire Stocking, not including Cuffs, is worked in St st - one row k (right side) and one row p (wrong side).
At end of every row, turn work and continue with next row of pattern.
INSTRUCTIONS
Divide for Heel and Instep:
With right side of work facing you, slip first 13 sts onto a st holder for the right half of heel, slip next 27 sts onto another stitch holder for instep, slip last 13 sts onto another needle for left half of heel.
Left Half of Heel: Using CC1 and with wrong side of work facing you, continue as follows:
Row 1: P to end of row. (13 sts)
Row 2: Sl 1, k 12.
Rows 3-18: Repeat Rows 1 & 2 eight more times.
To Turn Left Heel:
Row 19: P2, p2 tog, p1. (12 sts)
Row 20: Sl 1, k3.
Row 21: P3, p2 tog, p1. (11 sts)
Row 22: Sl 1, k4.
Row 23: P4, p2 tog, p 1. (10 sts)
Row 24: Sl 1, k5.
Row 25: P5, p2 tog, p1. (9 sts)
Row 26: Sl 1, k6.
Row 27: P6, p2 tog, p1. (8 sts)
Cut yarn leaving a long tail to seam.Place rem 8 sts on a st holder.
Right Half of Heel: Using CC1 and with right side of work facing you, continue as follows:
Row 1: K 13 sts from first st holder.
Row 2: Sl 1, p 12.
Rows 3-18: Repeat Rows 1 & 2 eight more times.
To Turn Right Heel:
Row 19: K2, sl 1, k1, psso, k1. (12 sts)
Row 20: Sl 1, p3.
Row 21: K3, sl 1, k1, psso, k1. (11 sts)
Row 22: Sl 1, p 4.
Row 23: K4, sl 1, k1, psso, k1. (10 sts)
Row 24: Sl 1, p5.
Row 25: K5, sl 1, k1, psso, k1. (9 sts)
Row 26: Sl 1, p6.
Row 27: K6, sl 1, k1, psso, k1. (8 sts)
Cut yarn, leaving a 3-4” tail.
Using same needle and MC, pick up and k9 sts along inner edge of right half of heel, k 27 sts from st holder, pick up and k9 sts along inner edge of left half of heel, k8 sts from left heel st holder. (61 sts)
Shaping the Gusset:
Row 1 and every alternate row following: (wrong side) P to end of row.
Row 2: K 14, k2 tog, k 29, sl 1, k1, psso, k 14. (59 sts)
Row 4: K 13, k2 tog, k 29, sl 1, k1, psso, k 13. (57 sts)
Row 6: K 12, k2 tog, k 29, sl 1, k1, psso, k 12. (55 sts)
Row 8: K 11, k2 tog, k 29, sl 1, k1, psso, k 11. (53 sts)
Row 10: K 10, k2 tog, k 29, sl 1, k1, psso, k 10. (51 sts)
Row 12: K9, k2 tog, k 29, sl 1, k1, psso, k9. (49 sts)
Row 13: P to end of row.
Video Tutorials
As a refresher here are the articles and videos you'll need to reference to complete this week's portion of the pattern. Check out the step by step guide below!
How to Knit
Learning how to knit is a wonderfully rewarding experience. Before you get started, we want to warn you that it is absolutely addicting. To get started learning how to knit, you will want to grab some needles and yarn. For this tutorial, we are using Mary Maxim Best Value worsted weight yarn (the most commonly used size yarn) and size 8 (5 mm) knitting needles.
How to Purl
When we discussed How to Knit in the previous post, we mentioned that Knit and Purl are essentially two sides of the same coin. If you knit on one side of your fabric, it will always show up as a purl on the other side. In this tutorial we will learn how to purl.
How to Knit the Stockinette Stitch
The Stockinette Stitch or Stocking Stitch is one of the most recognizable and most versatile stitches in the knitter's repertoire. When most people think of knitting, they think of the Stockinette stitch. If you are a seasoned knitter, then you have likely used this stitch many times. If you are new to knitting, it’s a great stitch to learn after the Garter Stitch.
How to Knit a Vintage Christmas Stocking | Knit Along Week 2
It's Week 2 of our Vintage Christmas Stocking KAL! This week we are casting on, knitting the ribbing, and working the cuff of our stocking. We included the complete pattern for the stocking shown here so you can work at your own pace. You can also use this as an updated modern guide for the classic vintage stocking.
Step by Step Christmas Stocking Tutorial
Step 1:
Divide for Heel and Instep:
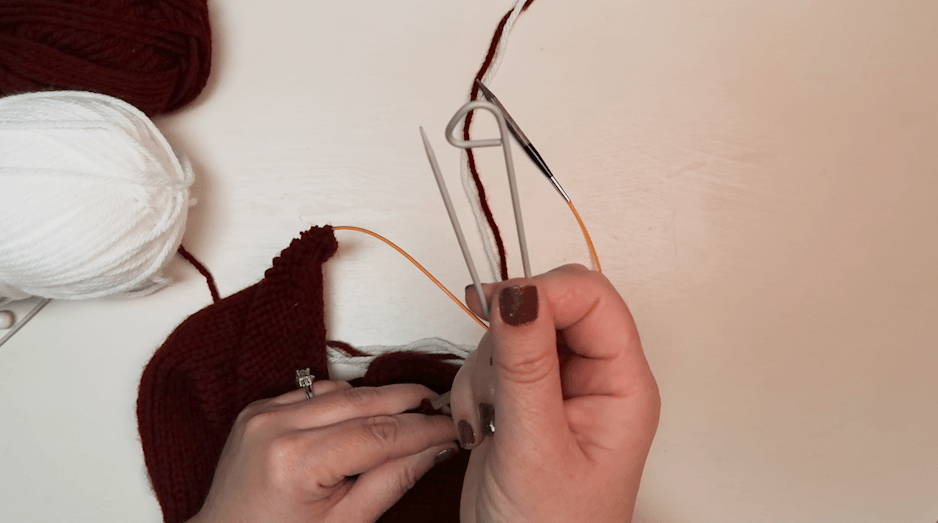
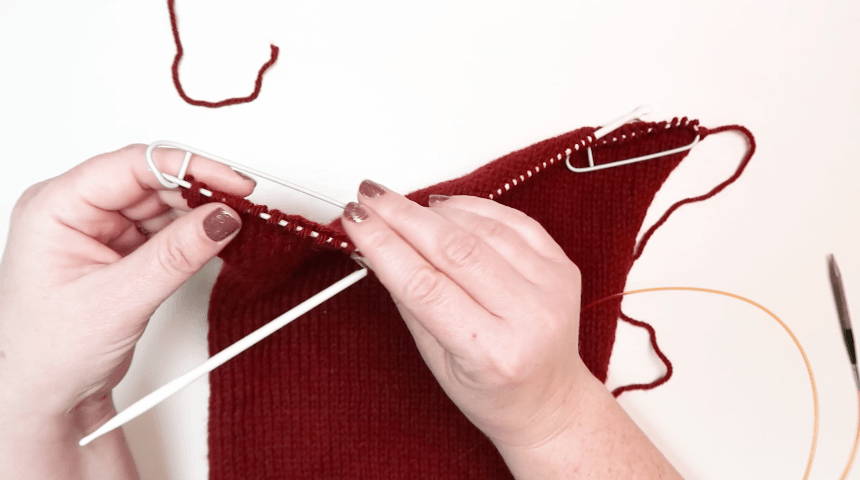
With right side of work facing you or place your work so you are looking at the knit side of the stockinette stitch, slip the first 13 sts onto a st holder for the right half of heel, slip next 27 sts onto another stitch holder for instep, slip last 13 sts onto another needle for left half of heel.
Step 2
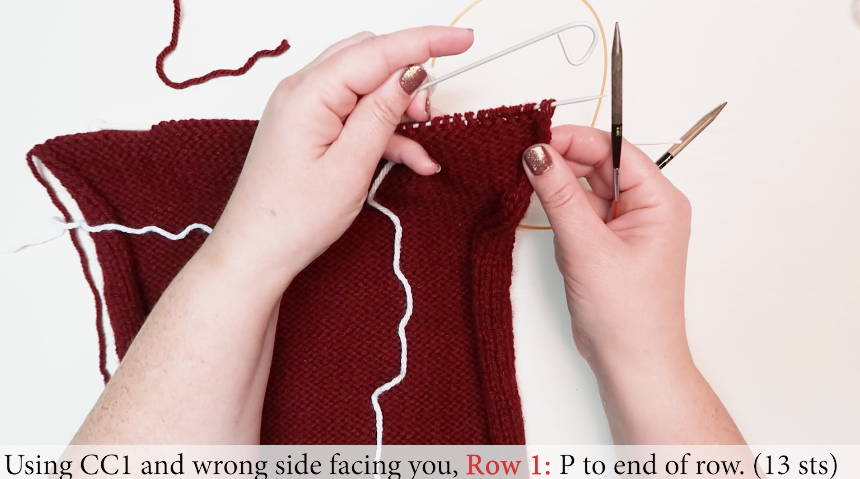
Left Half of Heel: Using CC1 and with wrong side of work facing you, continue as follows:
Row 1: P to end of row. (13 sts)
Row 2: Sl 1, k 12.
Rows 3-18: Repeat Rows 1 & 2 eight more times.
To Turn Left Heel:
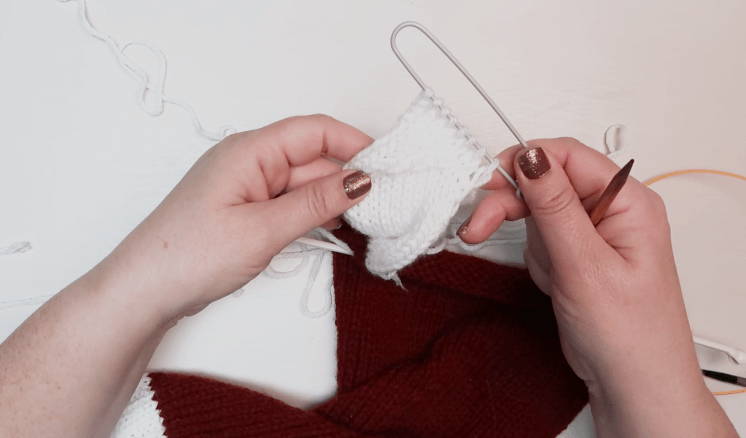
When turning the heel you will be decreasing by one stitch on every odd or purl Row. Start on Row 19 by purling 2, then purl 2 together, then purl 1 and turn. You will not be working all of the stitches on the Row. Work the next Row by slipping the first stitch, then knitting 3. This works only the stitches worked in Row 19. Continue working in the same manner until stitches remain after Row 27. Cut yarn leaving a long tail to seam. Place rem 8 sts on a st holder.
Step 3
Step 3 is worked as a mirror image of Step 2.
Right Half of Heel: Using CC1 and with right side of work facing you, continue as follows:
Row 1: K 13 sts from first st holder.
Row 2: Sl 1, p 12.
Rows 3-18: Repeat Rows 1 & 2 eight more times.
To Turn Right Heel:
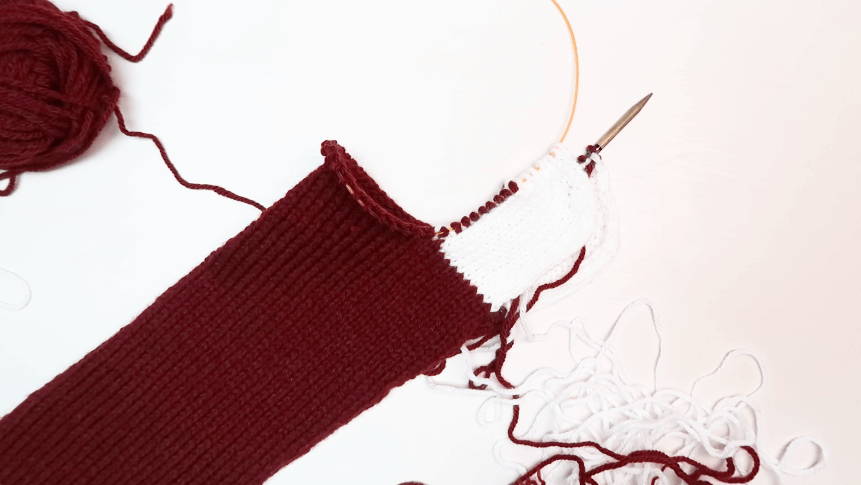
Just as when turning the left heel, when turning the right heel you will be decreasing by one stitch on every odd row. However since you are working with the right side facing you, the odd rows are now knit rows. Start row 19 by knitting 2, slip 1 stitch, knit the next, then pass the slipped stitch over the the previous knit stitch and off the needle, knit one and turn. You will not be working all the stitches in the row. Work the next row with a Slip 1 stitch, then purl 3. This works only the stitches worked in Row 19. Continue working in the same manner until 8 stitches remain after Row 27. Cut yarn leaving a long tail to seam. Place rem 8 sts on a st holder.

Step 4
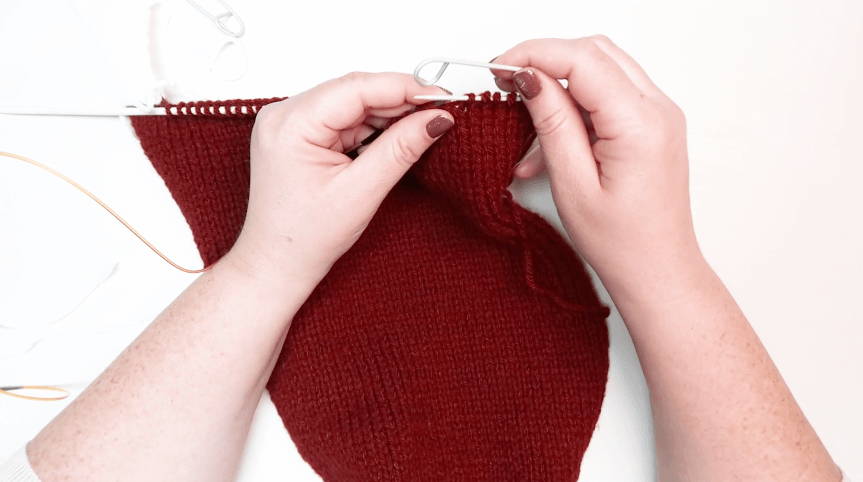
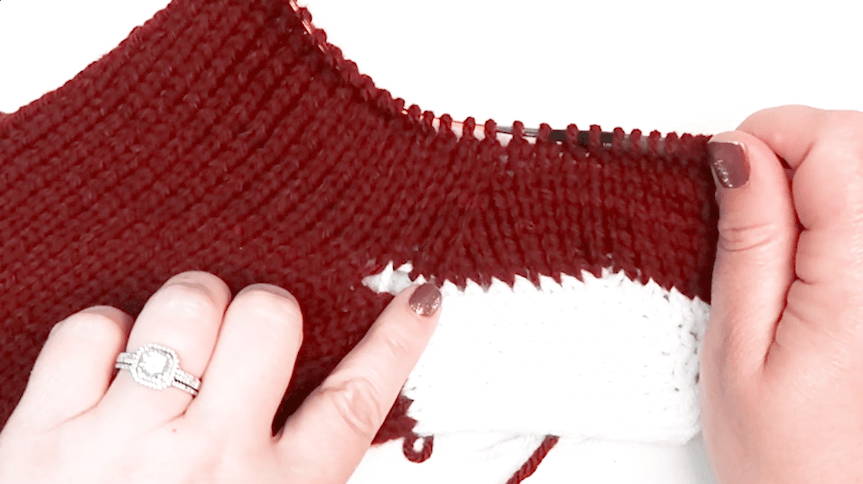
Using same needle that has 8 stitches on it and the main color (our main color is red wine), you are now going to pick up and knit 9 stitches along inner edge of right half of heel, knit 27 stitches from the stitch holder, pick up and knit 9 stitches along inner edge of left half of heel, knit 8 stitches from left heel st holder. (61 sts)
It is very important that you picked up the correct number of stitches on each side of the foot. If you don't decreasing in the Gusset will be uneven and you'll find little holes in your stocking.
Step 5:
Shaping the Gusset:
Row 1 and every alternate row following: (wrong side) P to end of row.
Row 2: K 14, k2 tog, k 29, sl 1, k1, psso, k 14. (59 sts)
Row 4: K 13, k2 tog, k 29, sl 1, k1, psso, k 13. (57 sts)
Row 6: K 12, k2 tog, k 29, sl 1, k1, psso, k 12. (55 sts)
Row 8: K 11, k2 tog, k 29, sl 1, k1, psso, k 11. (53 sts)
Row 10: K 10, k2 tog, k 29, sl 1, k1, psso, k 10. (51 sts)
Row 12: K9, k2 tog, k 29, sl 1, k1, psso, k9. (49 sts)
Row 13: P to end of row.
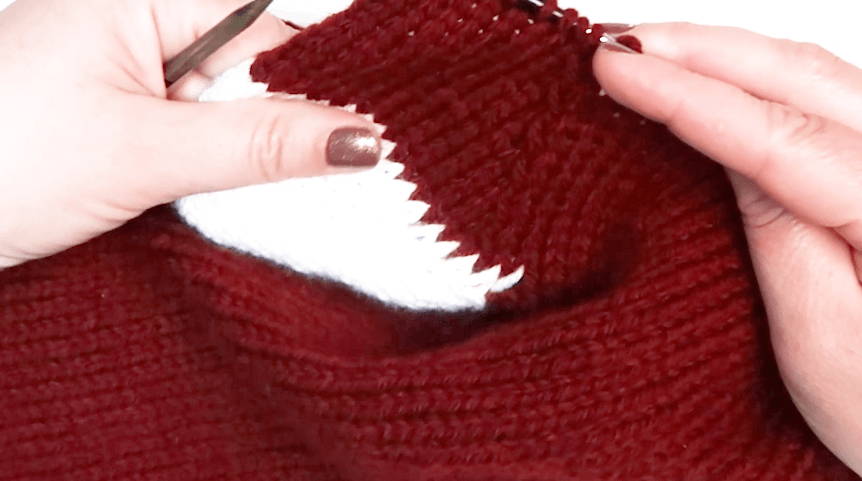
Start working the gusset with the wrong side facing you. Row 1 and every other row will be a purl row. When working the gusset it's important to decrease evenly on both sides. Start with knitting 14, knit two together, knit 29, slip 1 stitch knit the next stitch and pass the slipped stitch over the previous knit stitch and off the needle, then knit the remaining 14 stitches. This row will end up with 59 stitches after two decreases. Purl the next row. Now continue working in the same manner. Notice you will knit 1 stitch less before the first decrease and end with 1 stitch less after the second decrease on each right side row. When finished with purl Row 13 you'll have 49 stitches on the needle.
Week 3 Christmas Stocking Video Tutorial
Stay Tuned!
Make sure to check back next week for the last part of our Knit A Long. In the fourth week of our Knit-A-Long, we will finish the foot and shape the toe of our stocking. Make sure to check out our other Make A Longs!

