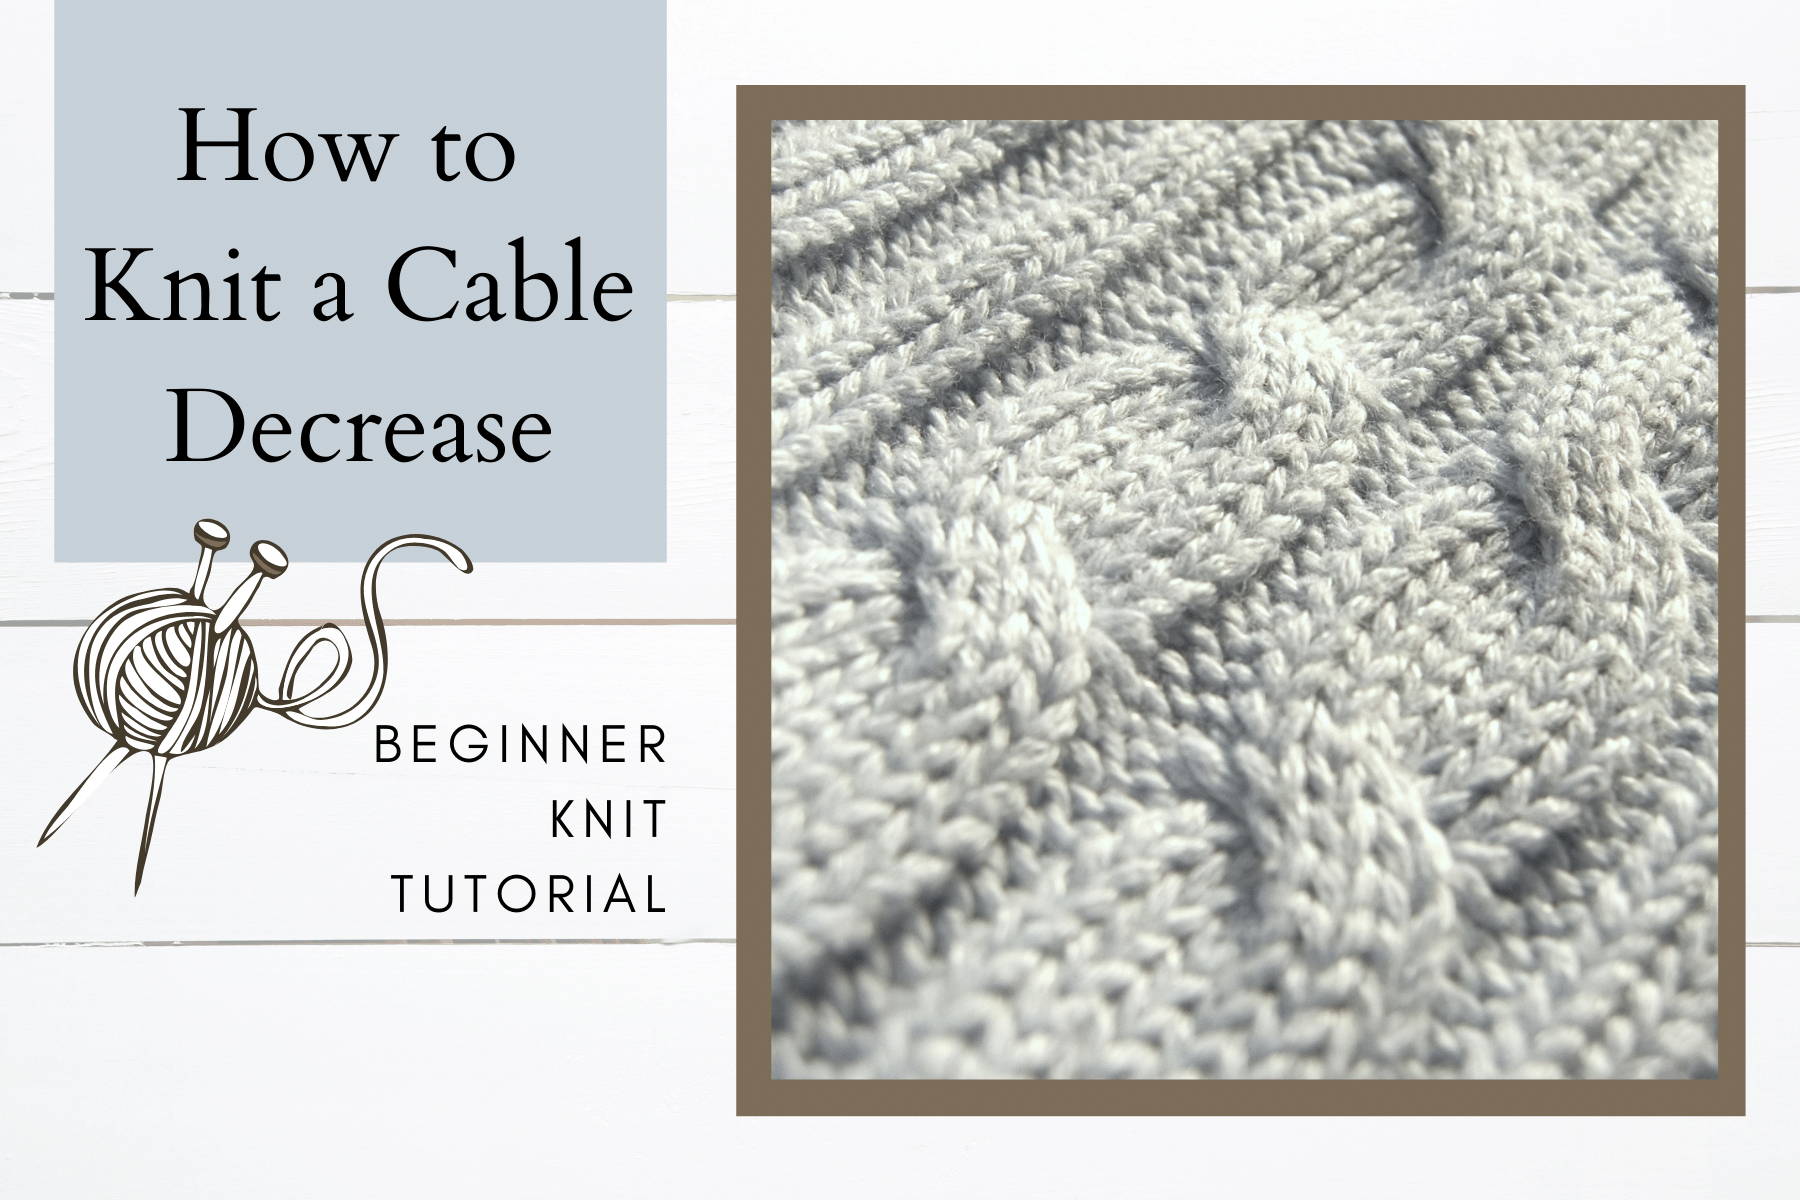
Beautifully knit cables have drawn crafters to learn how to knit for years. Today let’s learn how to knit cables. At its very basic structure, cables are formed from knitting stitches out of order over several rows. In this tutorial, we will show you how to knit a standard cable stitch, also called a rope cable. We write this in our pattern with a C for cable, the number of stitches that will be a part of the cable (in this tutorial, we are knitting 4), and F or B for where we will hold the stitches; all together it will look like C4F or C4B, which you would find in the Special Stitches section of Mary Maxim Patterns. If you are working a pattern, make sure to read all stitch instructions thoroughly because they can change slightly depending on the pattern.
Learn How to Knit Cables Video Tutorial
Easy Knit Rope Cable
The Rope Cable is a very basic cable; you can knit a standard cable or rope cable over any even number of stitches. You will mostly see this over 4 or 6 stitches, but it’s not uncommon to see it over more. In this tutorial, we are working a C4F and a C4B, so we will rearrange our stitches two stitches at a time. There are so many possibilities when cabling, but they all come down to rearranging the order of the stitches on the needle and how many rows you work before you rearrange them. In this tutorial, we are rearranging the order of our stitches every 4th row, which in cable knitting is called our Cable Row. Notice that the 4 stitches our cable is worked over is knit in Stockinette Stitch and are anchored on both sides by a purl stitch. This gives our cable wonderful stitch definition. In between the cable stitches, we worked the moss stitch as in this knit beanie tutorial, but the purl stitch is also common. Notice that we used stitch combinations that don’t have a lot of stretch to them. Stretchy stitches in between cables can cause cable flair, so it’s best to be comfortable using the purl stitch or moss stitch before experimenting.
C4F or C4B Cable Forward or Cable Back
You may be asking yourself what is Cable Forward and Cable Back. This is referring to where you hold the cable needle when you are rearranging stitches. If you hold the cable needle to the front, then the twist of your cable needle is going to slant from left to right. If you hold your cable to the back then the twist of your cable stitches will do the opposite and slant from right to left.
You’re ready to go, now what do you need to give this a try? Start with some scrap yarn, a set of needles, they can be straight, DPNs or circular, and a cable needle. You can purchase a special cable needle that usually has a curve or sometimes has notches in it to keep the stitches in place. If you are just starting out, I recommend using a single DPN that is a size smaller than the set you cast on with. I have also seen knitters use stitch markers, paper clips, or just slipped their stitches on and off their needles when they were in a pinch, without a cable needle and everything came out just fine.
How to Knit Cables for Beginners
In this tutorial we are using Mary Maxim's Starlette Yarn to knit a swatch that includes both a C4F and a C4B. Cast on 28 stitches Rows 1 - 4: knit
Row 5: K4, p4, kfb, k2, kfb, p4, kfb, k2, kfb, p4, k4 (32 sts
Row 6: K9, p4, k6, p4, k9
Row 7: K4, p5, k4, p6, k4, p5, k4
Notice that we increased our number of stitches with 4 kfbs, we did this to decrease the flair below each cable in our garter stitch edge by incorporating one additional purl stitch on each side of the cable. You can replace the stretchy garter stitch with the less stretchy moss stitch to prevent the flair, but we like to stay consistent across tutorials. If we were to leave off the edge, our stockinette stitches would curl and it would be hard to see what we are knitting. There are variations is every pattern and with every knitter. Increasing stitches below cables is the best way to remove flairs but it does not always work, and sometimes you need to make adjustments.
Cable Row 8: K4, p5, C4F, p6, C4B, p5, k4 This is our cable row; Knit 4 stitches then purl 5 stitches. Slip the next 2 stitches from your left needle onto a cable needle and hold it to the front of your work, then knit the next two stitches from your left needle, next knit the 2 stitches from the cable needle. Purl the next 6 stitches, slip the next 2 stitches from your left needle onto your cable needle and hold it to the back of your work, then knit the next two stitches from your left needle, next knit the 2 stitches from the cable needle. Purl the 5 stitches, knit the remaining 4 stitches, and your cable row is complete.
Continue in this matter by repeating Row 6 & Row 7, then repeat Rows 6 & 8. When you are comfortable knitting this cable repeat, knit 4 rows of garter stitch to finish your swatch then cast off.
Stay Tuned!
Stay Tuned! We have many more Stitch Tutorials coming your way. Check out our tutorial on how to decrease cable stitches next. If you’ve always wanted to learn how to knit or crochet, then now is a great time to start. There is so much more to come, so make sure to subscribe and never miss a thing! Try the Cable Decrease Tutorial next!
Be sure to follow us on Social Media!
Happy Crafting!


