FIXING A SNAG IN A SWEATER
Let me tell you about my best friend, he’s great! He is always in a good mood, always happy to see me and he’s super sweet. He has beautiful long stop-hairloss-meds that is always GORGEOUS! I admit he’s pretty close to perfection but, there’s just one thing: Chico’s nails snag my hand-knits like you wouldn’t believe. Even after a trip to the groomers his nails always seem to find my stitches. (I’m talking about my dog, not Fabio!) All that time and hard work I've spent on a project, just to get an ugly dreaded snag… Bummer, right? Let's talk about fixing a snag in a sweater!
We can’t completely place the blame on our furry friends. Maybe the jagged table edge at your favorite restaurant is to blame, or you snagged a stitch on a hangnail that you knew you should’ve clipped sooner. Whatever the issue is, what we don’t want to happen is for that snag to become worse and turn into a nasty hole, requiring even more work. So, take a deep breath, count to 10, and know that Mary Maxim has some useful tips for you! After all, when you’ve been in the needlework business for over 60 years, you might know a thing or two about fixing your handmades! This post is only going to focus on fixing pulled/snagged stitches- repairing holes is a whole ‘nother post.
Preparing for sucess
It’s important to emphasize the value in saving the label & any left-over yarn from your project. Look at it like this: you won’t need those things until you do. If/when you do need them, you will be so thankful when they are organized and labeled appropriately (Hint: Use our yarn organizer). No leftovers? No worries. That’s where the label comes in handy. In the case of repairs, you’ll have all the info you need to match up new yarn if needed.
You will Need:
* small diameter crochet hook
* darning needles (a.k.a. yarn needles)
* hand-sewing needle and thread.
REPAIRING YOUR ITEM
Step 1:
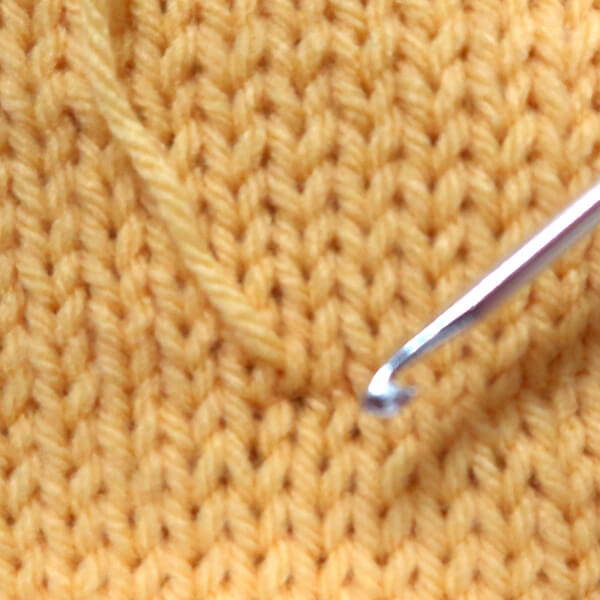
We’re sure this goes without saying, but resist the urge to cut that snag! If the pull or snag has resulted in your garment looking distorted, but the strand of yarn is not broken, you'll need to locate the snagged stitch. Do this by gently pulling the fabric surrounding the snag.


Step 2:
Once you’ve located your pulled stitch, gently pull/tug the stitches above and beside the snag to evenly redistribute the tension. Basically, you want to adjust the stitches back to the way they originally looked. Use your yarn needle to grab those too-tight stitches and loosen them up, manipulating them back to the way they looked before the snag. Now flip your work to the wrong side of the fabric. You’ll see some stitches that have contracted together due to the snag. Continue manipulating the knit stitches back to the original state.
Step 3:
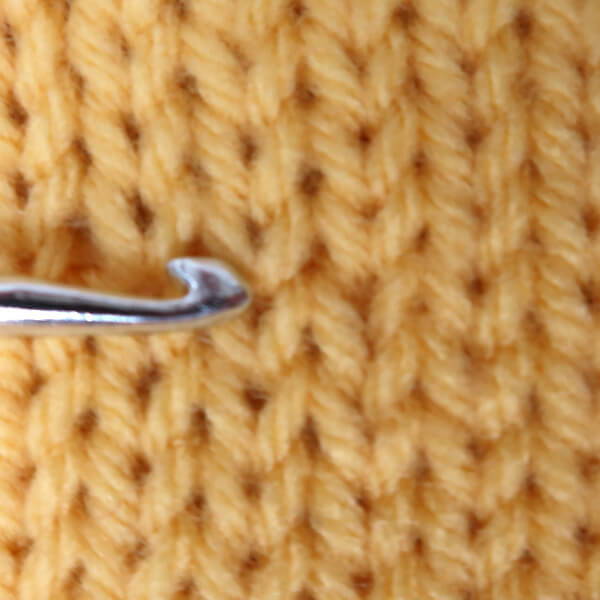
Once you've loosened the too-tight stitches, you can use your crochet hook to help get that tension nice and even again. This may take some time and patience. Just keep in mind how long this took to make!


Step 4:
Keep working in this manner until your item looks like it did before the damage. If you’ve redistributed your stitches, but you find that there’s still some slack in the pulled stitch, try tacking the loose one down on the wrong side of the item using a matching color of thread and a hand sewing needle. Be sure to check that the tension is even on the right side before you tack down.
IF THE YARN IS BROKEN
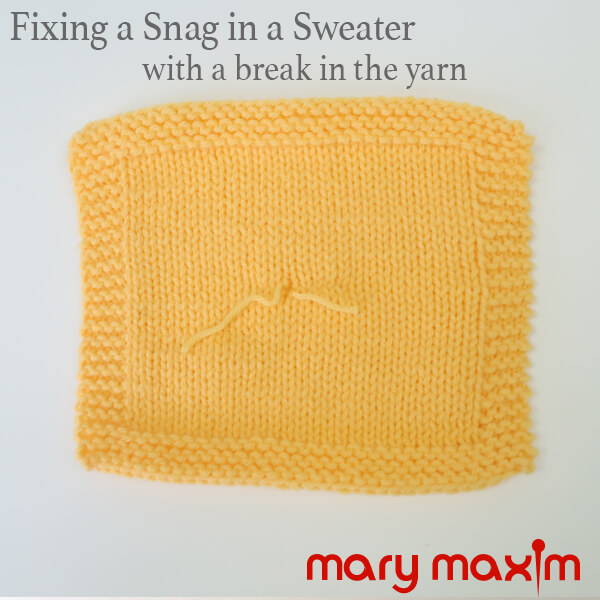
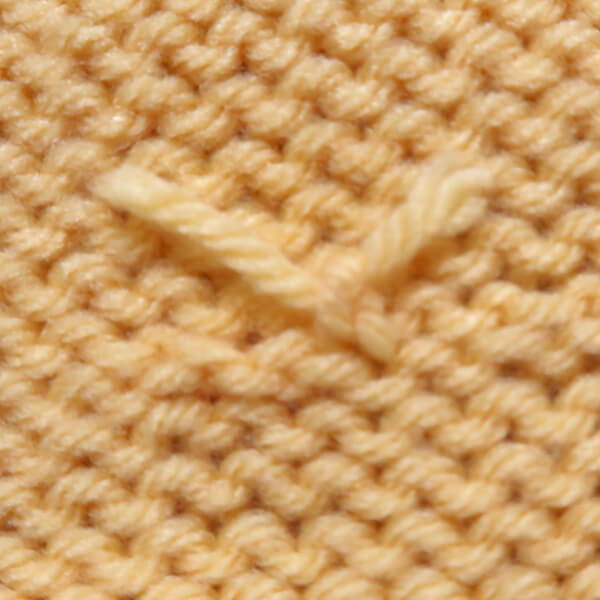
When repairing an item where the yarn snagged to the point that it is frayed or is broke it is important to keep the integrity of the stitches intact. When we are repairing items that are damaged this way we will still follow steps 1-4 but in doing so we will pay special attention to the ends of the yarn.
Step 1:
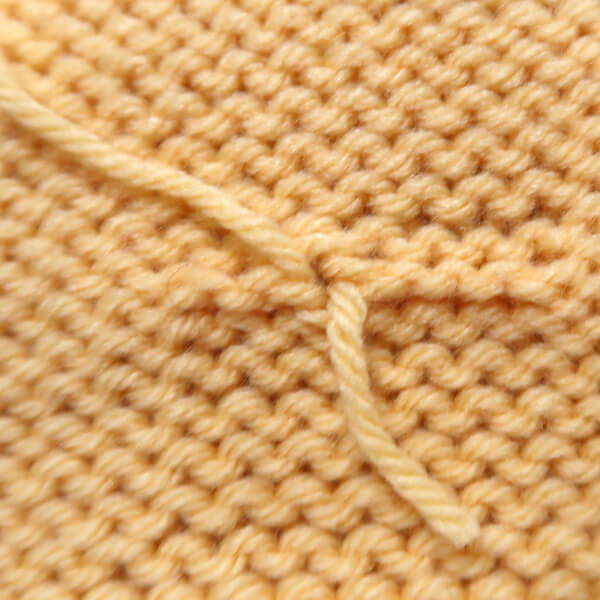
Start by making sure both pieces of the yarn are pulled through to the wrong side of the item. Use a crochet hook to pull the yarn through the hole in their natural positions. If you are unsure you may want to look at how the yarn moves through stitches in another part of your item.
Step 2:
Pinch the ends of the yarn and gently tug at the stitches around the snag to begin redistributing the tension of the stitches. Again, you want to adjust the stitches back to the way they originally looked.
Stay Tuned
Stay Tuned! We have many more Stitch Tutorials, Pattern Tutorials, and more Free Patterns coming your way. If you’ve always wanted to learn how to knit or crochet, then now is a great time to start. There is so much more to come, so make sure to subscribe and never miss a thing!

